Now that dockutil has been rewritten in Swift for macOS 12.3 compatibility, I needed to dust off my scripts. dockutil is supporting macOS 11 Big Sur or higher.
Don’t forget to look at the USAGE section in the readme or use the --help option to read more about the usage and options.
Luckily, not much is needed to be dusted off. However, I wanted to add some adjustments and share my workflows which you can use within Jamf. To support the older versions of macOS and dockutil, I kept my first setDock scripts and renamed this one to setDock-legacy this is for supporting before macOS 11.
There are many ways to manage the dock of an end-user. You can completely manage, semi manage or just add items to the dock. Whatever fits your needs, I prefer to leave the dock fully in control of the end-user so we just add items to the dock or create a basic dock to get the end-user started during enrollment
What we need
Download the scripts that is used and discussed in this blogpost from my GitHub repo. The latest release of dockutil (minimum version 3.0.0) the latest release can be found here on the GitHub repo. Clients must be macOS 11 Big Sur or higher (otherwise use older dockutil workflows) and for deploying to the devices we are using Jamf Pro. The script should be easy to use with other management systems.
We can deploy dockutil by uploading the dockutil installer PKG into the jamf Pro Server Settings -> Computer Management -> Packages
Another option is to use Installomator, but you need to add this label to the Installomator script if you are on version 9.0.1 or earlier. (It should be added in the next version.)
	dockutil)
	  name="dockutil"
	  type="pkg"
	  packageID="dockutil.cli.tool"
	  downloadURL=$(downloadURLFromGit "kcrawford" "dockutil")
	  appNewVersion=$(versionFromGit "kcrawford" "dockutil")
	  expectedTeamID="Z5J8CJBUWC"
	  blockingProcesses=( NONE )
	  ;;
Create a new policy, choose the preferred trigger, set the preferred frequency, add the dockutil.pkg or use the installomator script and don’t forget to scope to the Target Devices.
Basics
Now we have dockutil deployed we can start working on the scripts to set a default dock for your environment. Keep in mind, while testing you can easily reset the dock by deleting the current user’s com.apple.dock.plist file from the preferences.
	runAsUser defaults delete com.apple.dock
	runAsUser killall cfprefsd
	killall Dock
If we look at the usage of dockutil it’s straightforward. To add an application to the dock, just run this command
dockutil --add /System/Applications/TextEdit.app
This will add TextEdit to the end of the dock. This is a great example because I want to highlight something. If you look into your Applications folder, you will see the TextEdit application.
dockutil doesn’t check if the application exists on the device, and will be added as a Question mark in the dock.
To solve this you can create a function that will check if the application exists before he will run the command.
There are many options that you can use with dockutil, however, we are only using the options --add, --position, --no-restart and specify the path to the plist.
This is also the reason why I like dockutil, it is straightforward, I want to add x to the dock at this position, done!
The no-restart function is to prevent restarting the dock for each change. When you are not ready with the configuration, it makes no sense to restart the dock after every dockutil command.
The last important thing to know is if you run dockutil it runs in the userspace of that specific user. For example, if you run a script from Jamf you are creating a dock for the root user.
Make sure that you run the script with the logged-in user.
Build your default dock
Now we understand the basics for adding applications to the dock, let’s start building your organisation’s default dock.
If you look at the setDock-defaultDock.sh script from top to bottom, first we Collect important user information, have a function so we can run dockutil as currently logged in user, we check if dockutil is installed and version.
Before we set the dock we first empty it by running the following command:
runAsUser "${dockutil}" --remove all --no-restart
I learned not to repeat code in code when you don’t need to. (trying to keep this in mind and yes I sometimes forget) To add the Applications to the dock, I’m using a loop to run the dockutil —add command.
Therefore we need to make an Application path array from the apps we want to add to the default dock like below:
	apps=(
	"/Applications/Self Service.app"
	"/System/Applications/Launchpad.app"
	"/Applications/zoom.us.app"
	"/Applications/Google Chrome.app"
	"/Applications/.... etc."
	)
This array is used in the command we used in the loop
runAsUser "${dockutil}" --add "$app" --no-restart
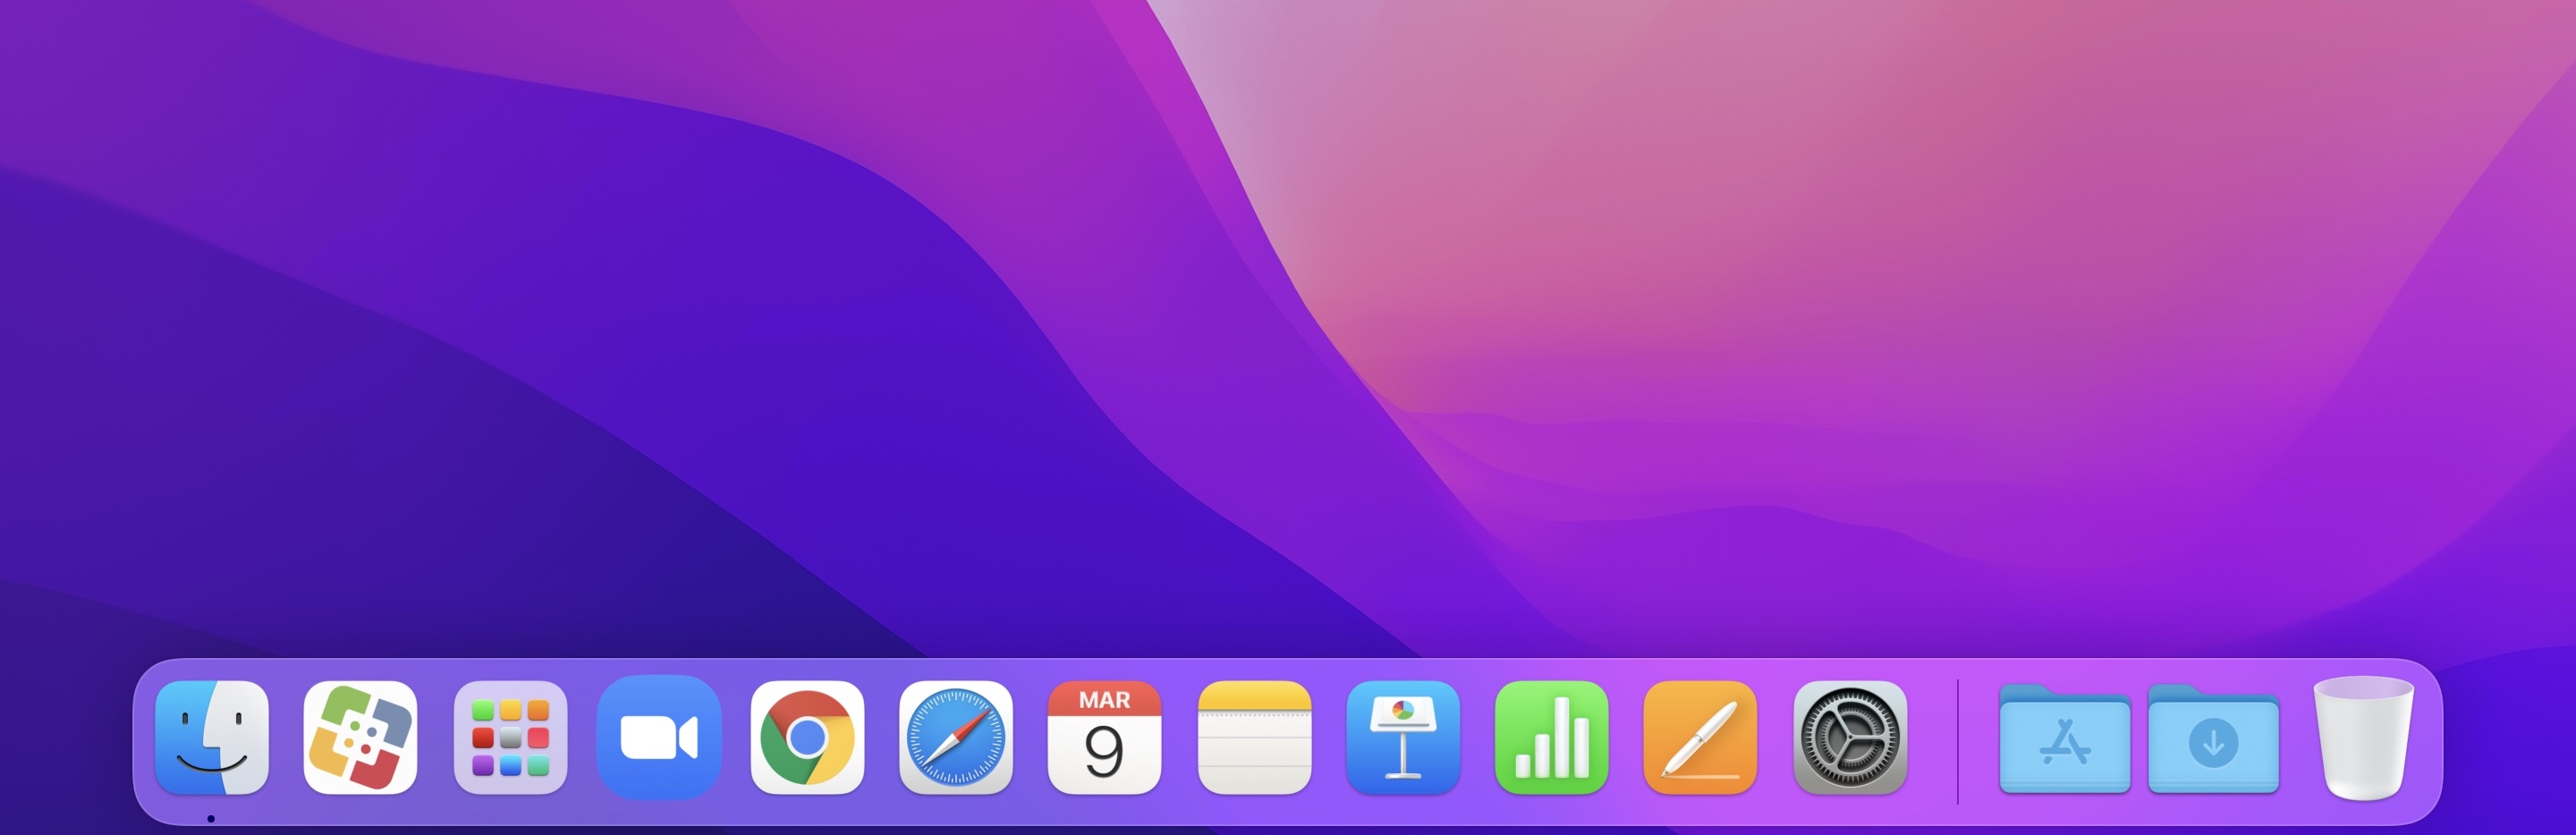
The array will start adding icons from the left side of the dock to the right. (top to bottom = left to right)
It doesn’t matter if you start with the files and folders or Applications but I like it to make a logical order.
Before adding the application to the dock we are verifying if the application is available on that given path: if [[ -e ${app} ]]
By doing this, we don’t end up with question marks as icons in the dock. (I know if you install the app later, this will be resolved. but i don’t like to confuse the end-user with a question mark)
Now we have created the applications array, we can add a command to add “Files or Folders” (this can also include links to servers) to the dock. For adding “Files or Folders” we can configure how we want to present them, in the script we run the following command:
runAsUser "${dockutil}" --add ${userHome}/Downloads --view list --display stack --sort dateadded --no-restart
With this command we add the Downloads folder to the dock with the icon displayed as a Stack, Content view as List and Sorted by Date Added. You can also add links to specific servers or even VNC connections to the dock by adding the smb://address or vnc://address with --label like the example below.
runAsUser "${dockutil}" --add [smb://fileserver.company.com](smb://fileserver.company.com) --label 'fileserver' --no-restart
Optional: you can change other settings of the dock as well in this script for example “Disable show recent” by adding this command to the script:
runAsUser defaults write com.apple.dock show-recents -bool FALSE
The last part we need to do to make sure the dock new configuration is loaded is to restart the dock by running this command: killall -KILL Dock
Now you know how the script works, we can create a new policy, choose the preferred trigger, set the preferred frequency, add the setDock-defaultDock.sh to the policy and don’t forget to scope to the Target Devices.
You can add this policy into your enrollment workflow to have a default company dock when the device is enrolled.
And thats basically it, by now you understand why I like dockutil ¯\_(ツ)_/¯
How to use a dockutil script with variables in Jamf.
I’m using dockutil over the build-in solution from the Jamf Pro Server, is because with dockutil we have more options. And to simplify this I created a script that can be re-used.
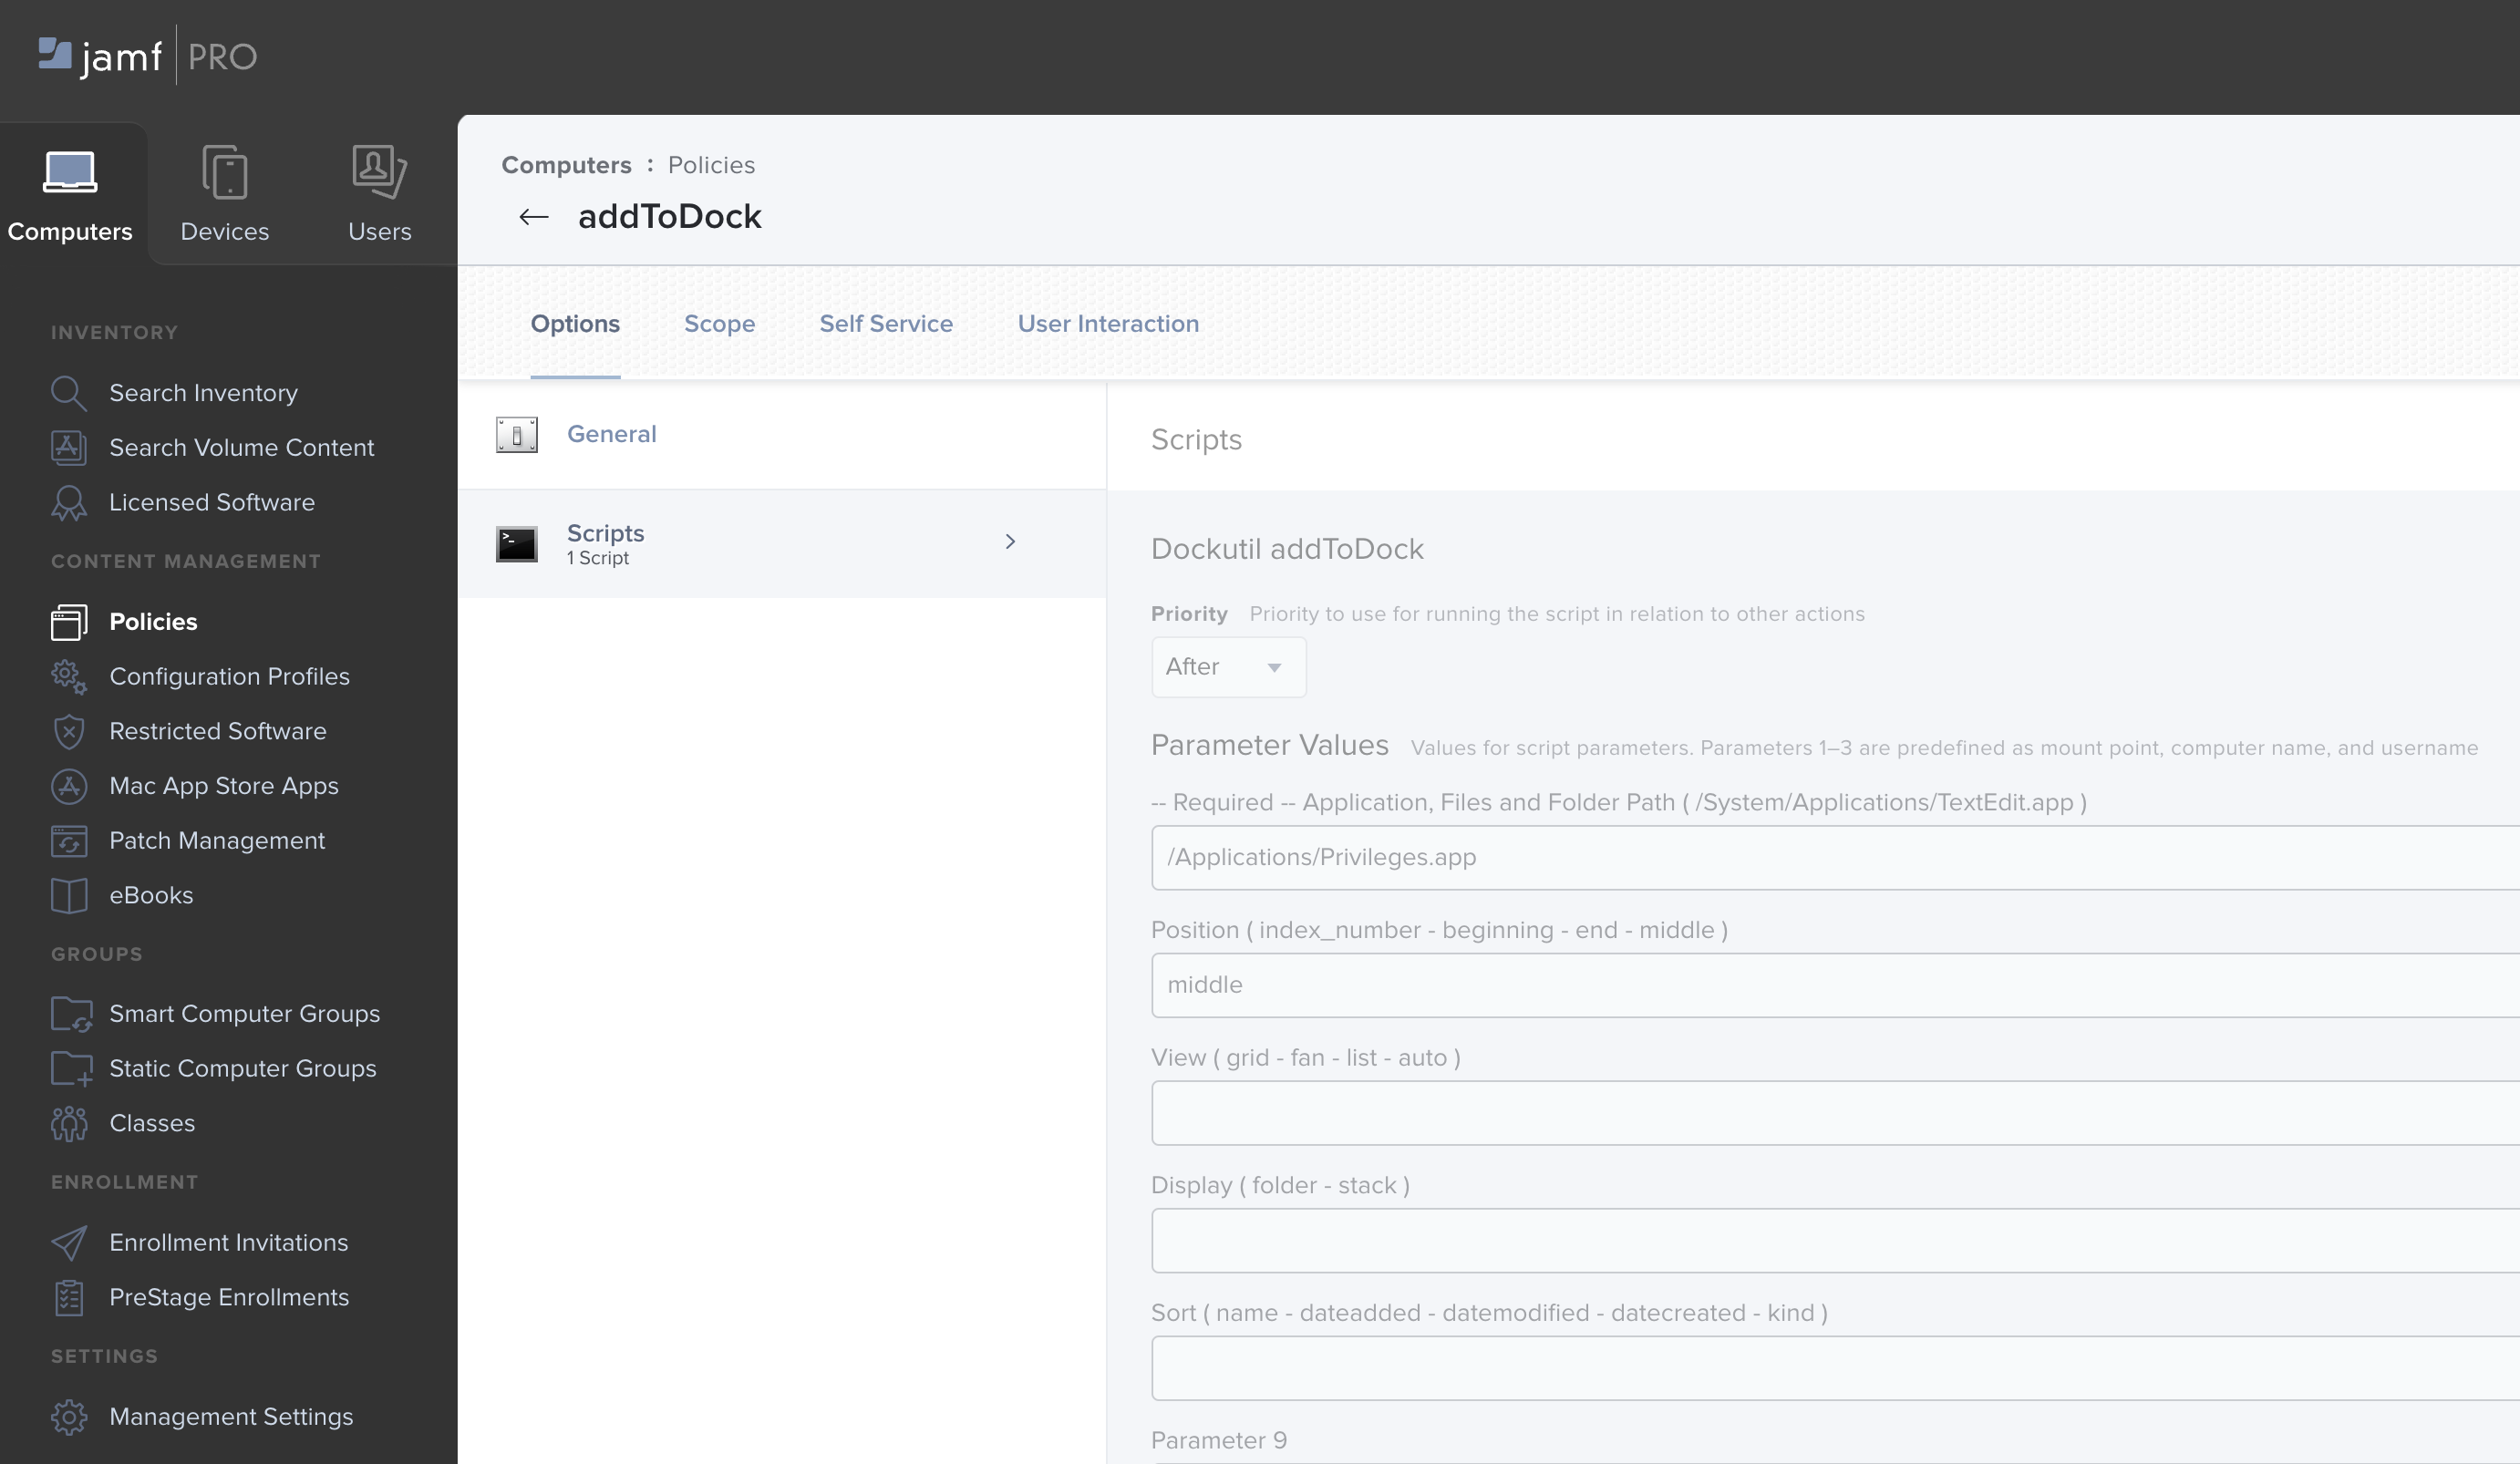
Upload the setDock-addToDock.sh into you Jamf Pro Server Settings -> Computer Management -> Scripts make sure you fill in the Parameter Labels by options:
	Parameter 4 = -- Required -- Application, Files or Folder Path ( /System/Applications/TextEdit.app )
	Parameter 5 = Position ( index_number - beginning - end - middle )
	Parameter 6 = View ( grid - fan - list - auto )
	Parameter 7 = Display ( folder - stack )
	Parameter 8 = Sort ( name - dateadded - datemodified - datecreated - kind )
This will help you to remember the options you can use while setting up the policy. The only required value is the Application, Files or Folder Path the rest is optional.
Create a new policy or add to an existing policy, go to the payload Scripts, add script setDock-addToDock.sh If you install the application you wan to add to the dock in the same policy, set Priority to After. Fill in the Parameter Values you want to add and set, and don’t forget to scope to the Target Devices.
Thats it!
The script will check before adding the Application, Files or Folder to the dock we are verifying if the path is correct. You can go to the Policy -> Logs to see the result of and what the error is if the policy didn’t work.
Hope you have a better understanding of how to use dockutil with a script to setup a default dock or to add a single item to the dock where ever you want.